How to use Vue with Deno
Vue is a progressive front-end JavaScript framework, built for performance and versatility.
This How To guide will show you how to create a simple app using Deno, Vite, and Vue.
View source or follow the video guide.
Run npm:create-vite-extra
We'll use Vite to scaffold our Vue app. First, run:
deno run --allow-read --allow-write --allow-env npm:create-vite-extra@latest
Name your project, then select "deno-vue".
Then, cd into your new project and run:
deno task dev
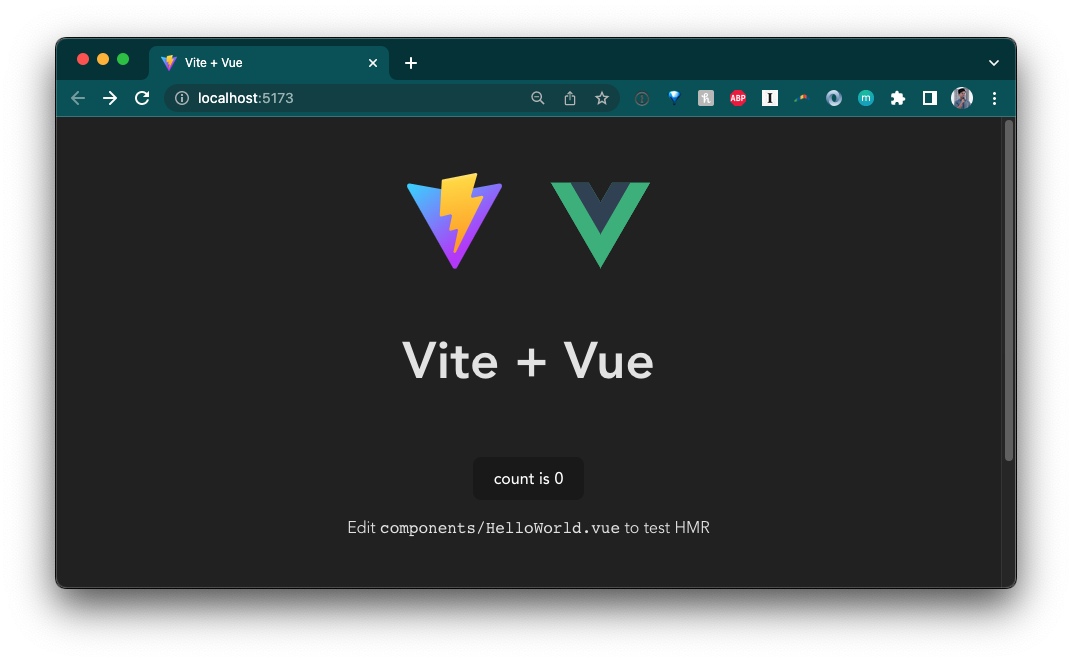
You should now be able to view your default Deno and Vue app in your browser:

Add a backend
The next step is to add a backend API. We'll create a very simple API that returns information about dinosaurs.
In the directory, let's create an api folder. In that folder, we'll create a
main.ts file, which will run the server, and a data.json, which is the hard
coded data.
mkdir api && touch api/data.json && touch api/main.ts
Copy and paste
this json file
into your api/data.json.
Then, let's update api/main.ts:
import { Application, Router } from "https://deno.land/x/oak/mod.ts";
import { oakCors } from "https://deno.land/x/cors/mod.ts";
import data from "./data.json" assert { type: "json" };

const router = new Router();
router
  .get("/", (context) => {
    context.response.body = "Welcome to dinosaur API!";
  })
  .get("/api", (context) => {
    context.response.body = data;
  })
  .get("/api/:dinosaur", (context) => {
    if (context?.params?.dinosaur) {
      const found = data.find((item) =>
        item.name.toLowerCase() === context.params.dinosaur.toLowerCase()
      );
      if (found) {
        context.response.body = found;
      } else {
        context.response.body = "No dinosaurs found.";
      }
    }
  });

const app = new Application();
app.use(oakCors()); // Enable CORS for All Routes
app.use(router.routes());
app.use(router.allowedMethods());

await app.listen({ port: 8000 });
This is a very simple API server using oak that
will return dinosaur information based on the route. Let's start the API server:
deno run --allow-env --allow-net api/main.ts
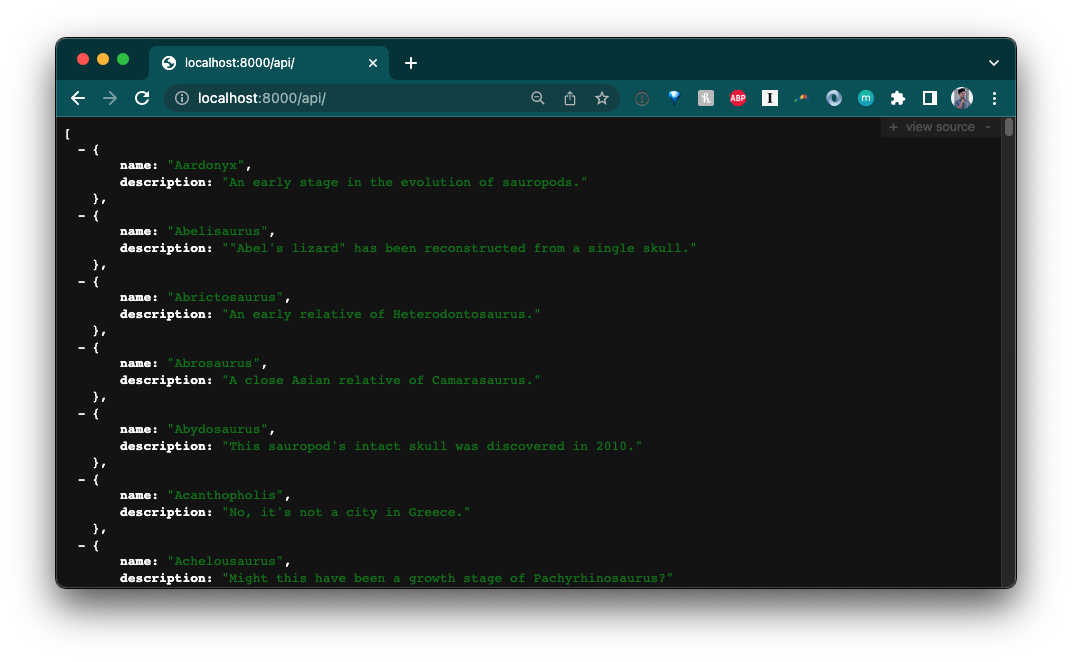
If we go to localhost:8000/api, we see:

Lookin' good so far.
Add Vue components
Let's update src/components. We'll add the files:
HomePage.vue, the component for the home pageDinosaurs.vue, the component that lists all dinosaur names as anchor links, andDinosaur.vue, the component that shows an individual dinosaur's name and description
touch src/components/HomePage.vue src/components/Dinosaurs.vue src/components/Dinosaur.vue
Before we create the components, let's add some state management.
Maintain state with store
In order to maintain state across our <Dinosaur> and <Dinosaurs> components,
we'll use
Vue store. Note for
more complex state management, check out the Vue-endorsed
Pinia library.
Create a src/store.js file:
touch src/store.js
And in it, let's add:
import { reactive } from "vue";

export const store = reactive({
  dinosaur: {},
  setDinosaur(name, description) {
    this.dinosaur.name = name;
    this.dinosaur.description = description;
  },
});
We'll import store into both Dinosaurs.vue and Dinosaur.vue to set and
retrieve dinosaur name and description.
Update Vue components
In Dinosaurs.vue, we'll do three things:
- send a
GETrequest to our API and return that asdinosaurs - iterate through
dinosaursand render eachdinosaurin<router-link>that points to the<Dinosaur>component - add
store.setDinosaur()to@clickon eachdinosaur, which will set thestore
Here is the complete code below:
<script>
import { ref } from 'vue'
import { store } from '../store.js'
export default ({
  async setup() {
    const res = await fetch("http://localhost:8000/api")
    const dinosaurs = await res.json();
    return {
      dinosaurs
    }
  },
  data() {
    return {
      store
    }
  }
})
</script>

<template>
  <div class="container">
    <div v-for="dinosaur in dinosaurs" class="dinosaur-wrapper">
      <span class="dinosaur">
        <router-link :to="{ name: 'Dinosaur', params: { dinosaur: `${dinosaur.name.toLowerCase()}` }}">
          <span @click="store.setDinosaur(dinosaur.name, dinosaur.description)">
            {{dinosaur.name}}
          </span>
        </router-link>
      </span>
    </div>
  </div>
</template>

<style scoped>
.dinosaur {
}
.dinosaur-wrapper {
  display: inline-block;
  margin: 0.15rem 1rem;
  padding: 0.15rem 1rem;
}
.container {
  text-align: left;
}
</style>
In Dinosaur.vue, we'll add:
- importing
store - rendering
store.dinosaurin the HTML
<script>
import { store } from '../store.js';
export default {
  data() {
    return {
      store
    }
  }
}
</script>

<template>
  Name: {{ store.dinosaur.name }}
  <br />
  Description: {{ store.dinosaur.description }}
</template>
Next, we'll update HomePage.vue. Since the Dinosaurs component needs to
fetch the data from the API, we'll use
<Suspense>, which manages
async dependencies in a component tree.
<script>
import { ref } from 'vue'
import Dinosaurs from './Dinosaurs.vue'
export default {
  components: {
    Dinosaurs
  }
}
</script>

<template>
  <Suspense>
    <template #default>
      <Dinosaurs />
    </template>
    <template #fallback>
      <div>Loading...</div>
    </template>
  </Suspense>

  <p>
    Check out
    <a href="https://vuejs.org/manual/quick-start.html#local" target="_blank"
      >create-vue</a
    >, the official Vue + Vite starter
  </p>
  <p class="read-the-docs">Learn more about using Deno and Vite.</p>
</template>

<style scoped>
.read-the-docs {
  color: #888;
}
</style>
Tying it all together, let's update src/App.vue:
<template>
  <router-view />
</template>;
Add routing
You'll notice that we have used <router-link> and <router-view>. These
components are part of the vue-router library,
which we'll have to setup and configure in another file.
First, let's import vue-router in our vite.config.mjs file:
import { defineConfig } from "npm:vite@^3.1.3";
import vue from "npm:@vitejs/plugin-vue@^3.2.39";

import "npm:vue@^3.2.39";
import "npm:vue-router@4";

// https://vitejs.dev/config/
export default defineConfig({
  plugins: [vue()],
});
Next, let's create a folder named router. In it, let's create index.ts:
mkdir router && touch router/index.ts
In router/index.ts, we'll create router, which contains information about
each route and their component, and export it. For more information on using
vue-router, check out their guide.
import { createRouter, createWebHistory } from "vue-router";
import HomePage from "../components/HomePage.vue";
import Dinosaur from "../components/Dinosaur.vue";

const routes = [
  {
    path: "/",
    name: "Home",
    component: HomePage,
  },
  {
    path: "/:dinosaur",
    name: "Dinosaur",
    component: Dinosaur,
    props: true,
  },
];

const router = createRouter({
  history: createWebHistory("/"),
  routes,
});

export default router;
Next, in our src/main.ts file, which contains all of the logic for the
frontend app, we'll have to import and use router:
import { createApp } from "vue";
import "./style.css";
import App from "./App.vue";
import router from "./router/index.ts";

const app = createApp(App);
app.use(router);
app.mount("#app");
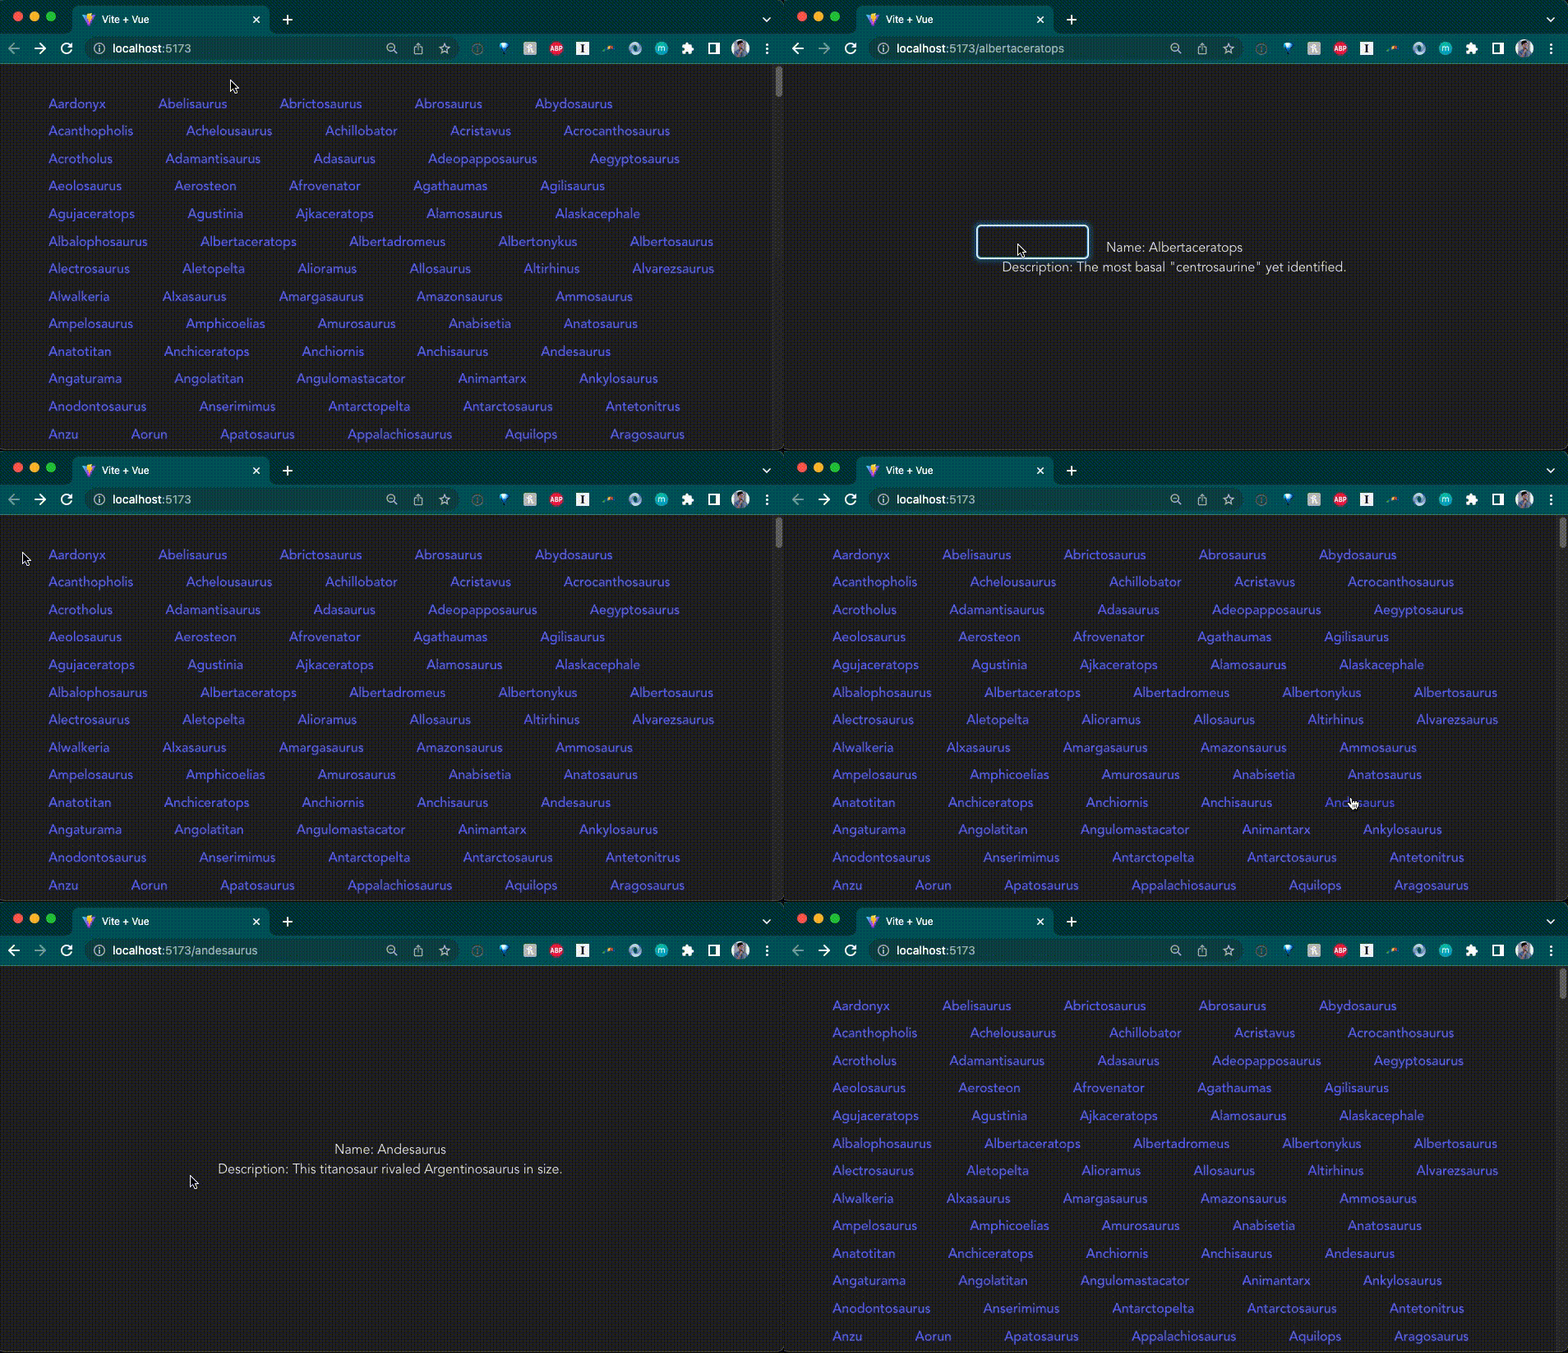
Let's run it and see what we get so far:

Awesome!